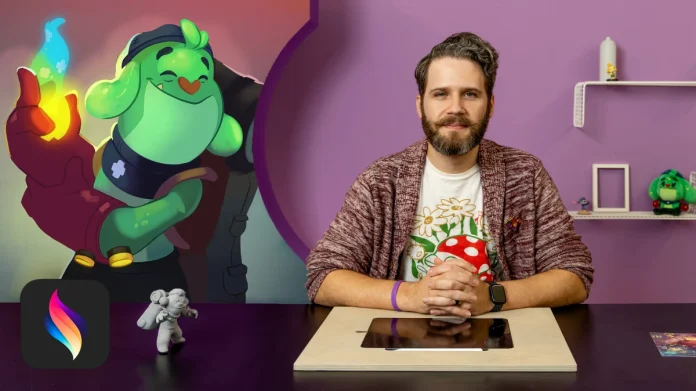
Combining the simplicity of Procreate with the dynamic features of After Effects opens up endless possibilities for 2D animation. Follow this tutorial to learn how to create a short animated sequence.
Step 1: Sketching in Procreate
- Create a Storyboard: Start with rough sketches to map out the sequence. Use Procreate’s Animation Assist to preview your ideas.
- Final Line Art: Clean up your sketches and finalize the line art. Use layers to separate elements like characters, backgrounds, and props.
Step 2: Adding Color and Texture
- Color Palette: Develop a cohesive color scheme. Procreate’s Reference Layers make filling shapes effortless.
- Textures: Experiment with brushes to add depth and texture. Use Procreate’s Blend Modes for shading and highlights.
Step 3: Exporting Frames
Export your layers as PNG sequences. Ensure each frame aligns properly for smooth animation.
Step 4: Animation in After Effects
- Import Frames: Bring your PNG sequence into After Effects. Use the Time Remapping feature to adjust pacing.
- Motion Tweaks: Add smooth transitions using keyframes. Apply easing for natural movement.
- Camera Movement: Use After Effects’ 3D Camera Tool to simulate depth and dynamic angles.
Step 5: Enhancing with Effects
- Glow and Lighting: Use the Glow Effect for magical or sci-fi elements.
- Parallax: Add depth to your background with parallax layers.
- Sound Design: Sync your animation with audio effects and music using After Effects’ audio timeline.
